Friday, September 15, 2006

My first Crochet Hat


Okay so I tried the hat pattern that can be found on Emily Rugburns page. The hat took me some time to get started, I was having a bit of trouble with having 2 extra stitches every time I tried it, but I eventually figured it out. The actual crocheting of the hat took me just over an hour. The crocheting of the flower took me almost an hour as well. My flower still needs a lot of work. I'm not sure I did the flower right. I need to look up some of the stitches in it. I have the sc and the dbc down packed though and i'm quite happy about that.


I have given the hat to my friends daughter to wear as she will be getting a blue snow suit for this winter. So now that I have discovered how easy creating a hat actually is i'm becoming a little more brave and will be attempting some new things. I'll be going through some of my pattern books now. I think Christmas is going to be a lot of fun this year.

Thursday, September 14, 2006

My Crochet Dishcloth


So unlike some of my fellow hookers (Em and T-Ra) to be exact. I'm not as brave when attempting crochet. I'm still in the beginner stages as far as I'm concerned. As I go along I look up stitches to refresh my memory. So I started very simple with a Dishcloth. I'm not so sure I did the edging one hundred percent correct but for my first crochet dishcloth I'm impressed with it. It's kind of neat to think I've made something useful out of a ball of crochet cotton. Actually it was a small amount of crochet cotton from a very large ball, so I figure I'm going to make some matching dishcloths so I have a set. woo hoo !

This Pattern was actually fairly easy to follow for a first project. It only used two types of stitches ( slip st = slip stitch) and (sc = single crochet). The pattern was very repetitive so It allowed you to get comfortable with the stitch. I got it from a crochet book I picked up at WalMart called 10 20 30 Minutes to learn to Crochet by Leisure Arts.


close up of single crochet stitch completed


Materials Needed:
100% Cotton Worsted Weight Yarn (approximately: 1 1/2 balls if you buy the smaller ones)
Crochet Hook, Size H (5.00mm)

The Instructions:
Ch 33.

Row 1: Sc in back ridge of second ch from hook and in each ch across: 32 sc.

Row 2: Ch 1, turn; skip first sc, 2 sc in next sc, *skip next sc, 2 sc in next sc; repeat from * across: 32 sc.

Repeat Row 2 until Center measures approximately 8" from beginning ch; do not finish off.

Edging
Note
: Learn to crochet evenly around, work in end of rows and in rounds without turning.

Rnd 1: Ch 1, do not turn; sc evenly around entire piece working 3 sc in each corner; join with slip st to first sc.

Rnd 2: Ch 1, sc in each sc around working 3 sc in center sc of each corner 3-sc group; join with slip st to first sc, finish off.

Weave in yarn ends.

If you like the colour I used for the dish cloth, I purchased BERNAT Handicrafter Cotton and the colour is called Twilight Ombre, I purchased the 14oz / 400 Gram ball at WalMart.

Plastic Canvas Magnets


During the summer I wanted some quick results. I wanted to work on some thing that was going to take shape and look good right away. I started making magnets. Any one who knows me, understands my obsession with Eeyore and Disney. Some of these magnets are available for sale at my e-bay store. The reason I started an E-bay store was, like any crafter you create and create and then don't know what to do with all your items. There are only so many presents you can make for others *giggle*. So I have decided to offer my items to people who may be interested in them and not have the time to make home made projects them selves, but are looking for some thing different or more unique then the average store bought item. I take great pride in my work and do have a hard time parting with it, but lets face it "I'm a pack rat!". I have made magnets out of both 7 mesh plastic Canvas and 14 mesh plastic Canvas.

I prefer the look of the 14 mesh over the 7 mesh. The holes are smaller and seem to give it more of a cutter look. To me it just seems neater. However I have met people who prefer the 7 mesh over 14 mesh because the 14 mesh can be harder to work with some times.

Tuesday, September 12, 2006

Plastic Canvas

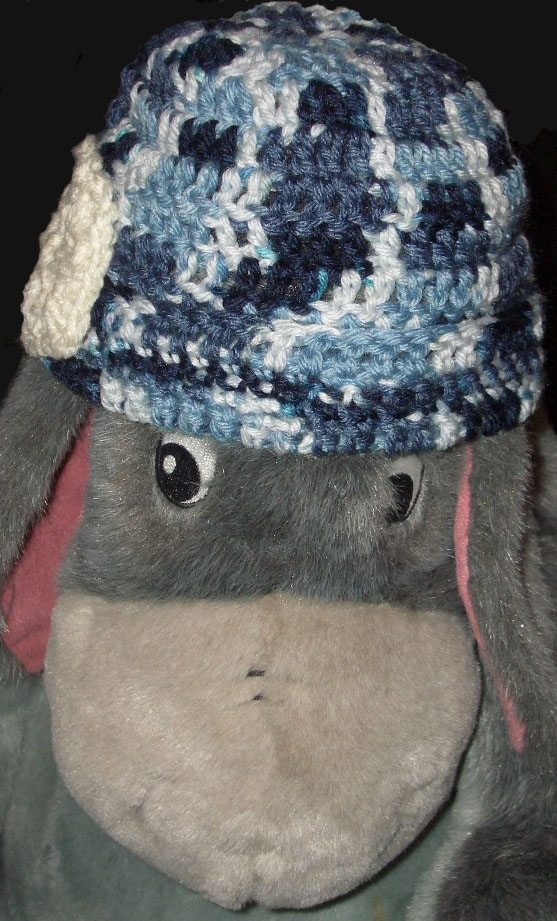
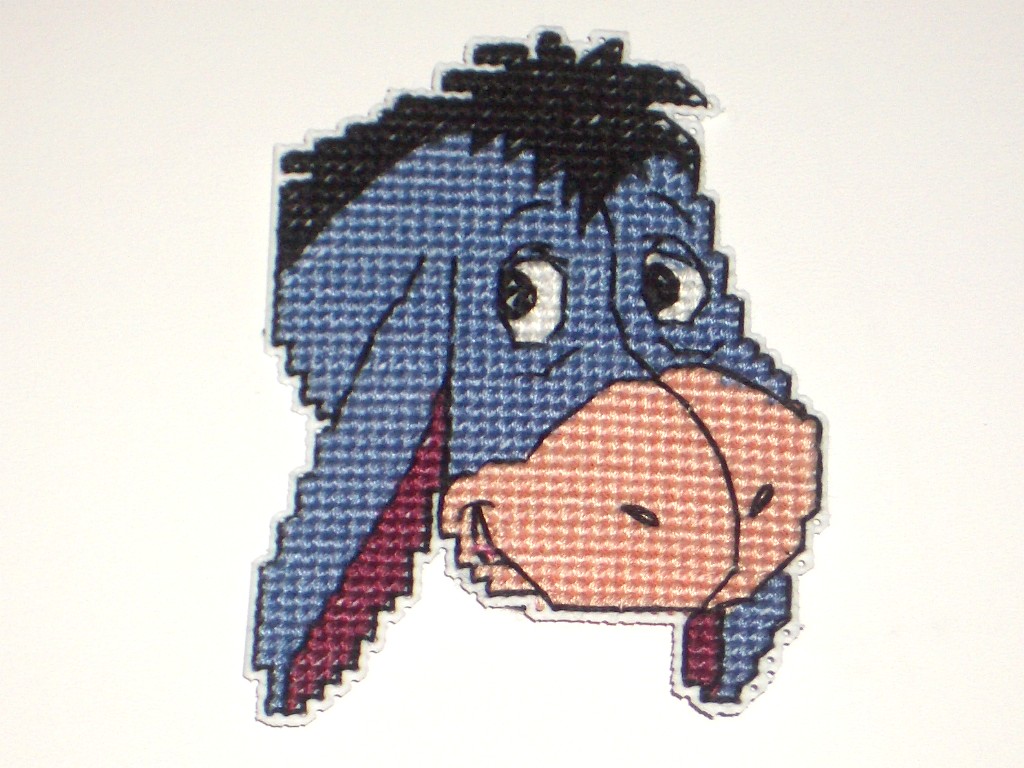
I have been fiddling with crafts since I was about 4 years old, having grown up in a house where My Mother is a huge crafter. When I was young I would crochet huge long never ending chains. I went through a phase when I was in my teens, I could not get enough of Plastic Canvas projects. The projects where fun and fairly easy to do. I have to admit, Plastic Canvas still has a special place in my heart, even though I don't spend as much time doing it any more.

One of the projects that I have done is this small "Lilly of the Valley" treasure box. It's handy to have around if you want to take your rings off and put them in a safe spot (In the washroom if your going to be taking a shower, or in the kitchen if you need to do the dishes).

This pattern came out of a book called Gifts Galore in Plastic Canvas: Book four. This pattern was marked at the advanced skill level but it was not that difficult to do. If your a beginner with plastic canvas you may need some aid in putting the box together. Especially with the top sides of the lid. You may have to fiddle with it a little. I try to look at Plastic Canvas like a puzzle, all the pieces are ment to fit together and eventually it all fits into the right place. Some times a little faster then other times.

What I liked about this pattern was that it had Blossoms for each month so you where not limited to one type of lid. The box is 3 1/4" W x 1 7/8" H x 3 1/4" D.

I required worsted weight yarn or you can use Needloft yarn. One sheet of 7 Mesh Plastic Canvas, and a tapestry needle.

For those of you who are not familiar with Plastic Canvas. The number in front of Mesh states how big the wholes will be in the plastic canvas. 5 Mesh are very big holes and the higher the number gets the smaller the wholes get. 14 Mesh plastic canvas is almost like a plastic version of Aida cloth for cross stitch.

I guess if your a beginner you would have to become familiar with some of the stitching terms and you might want to practice a little. Okay, I have obviously taken this for granted and I know why this project is listed as Advanced now. The stitches used where Backstitch, Cross Stitch, French knot, Gobelin Stitch, Overcast Stitch, Scotch Stitch Variation, and Tent Stitch.

Well that's it for my first project that I have done that I will share with you.

Monday, September 11, 2006

A Crafting Blog?

I am starting this Blog because a couple of friends of mine have had this great idea of sharing projects and patterns. It's a great Idea for other beginner crafters to come together and get ideas for projects and tips. I really enjoy crafts and I find it very hard now, to find any one who is still into crocheting, knitting, cross Stitch, plastic canvas. I find most people don't have time to do crafts now, busy with work, kids and family. It is such an enjoyable way to relax though. So I hope people out there get some type of enjoyment from this blog.